Let me be
honest with you! If you have never made your own chocolate before, you’re
missing out on something too good to miss out on. And it’s a lot easier than
you may think. Let me break it down for you nice and simple.
You need:- Cacao mass (the brown stuff) 100 g (3.5 oz.)
- Cacao butter (The white stuff) 50 g (1.8 oz.)
- Natural sweetener (Whatever you feel like but NO SUGAR or any kinds of artificial sweeteners please! You can use yacon syrup, agave nectar, raw honey, molasses, date syrup, stevia…
- 1 tsp. raw vanilla powder
- Decoration/topping if you wish
- Something to let the chocolate stiffen in
Step 1: Mix the cacao
mass with the cacao butter in a bowl and place the bowl in hot water to make
the cacao melt slowly. Make sure the water isn’t too hot since we want to keep
our chocolate raw to preserve all the nutrition. When the cacao has melted add
the vanilla powder and stir it in, that done continue with the sweetener.
Step 2: I’m letting
you decide yourself how sweet you want to make it. But please don’t put too
much in at once. A little at a time so you don’t end up making the chocolate
way to sweet! Yeah, right! Like that could happen... trust me it can ;)
Step 3: To make the
chocolate even more nutritious I like to stir in some shelled hemp seed or
crushed flaxseeds. But this is optional.
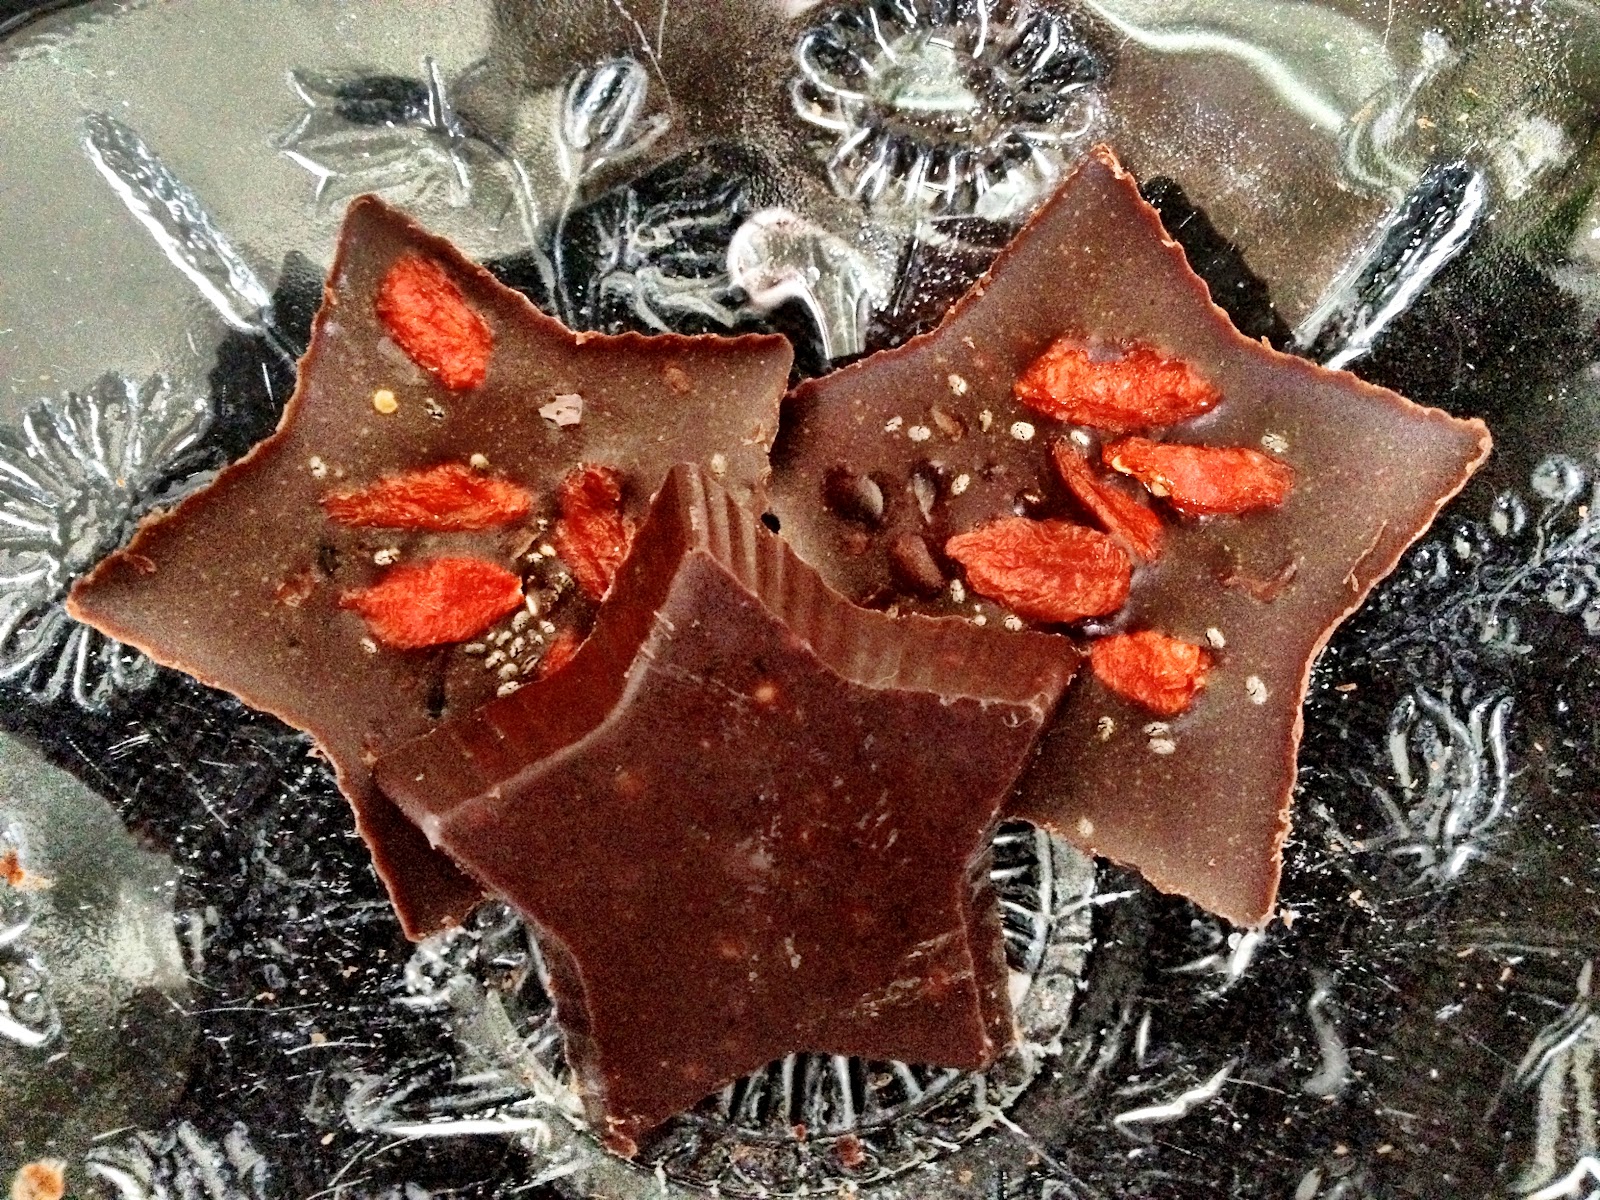
Step 4: I always
put my chocolate in silicone forms before decorating. For topping or decoration
you can be as creative as you feel like, but stick to something healthy. I love
dried tart cherries on my chocolate! Cranberries, gojiberries and raisins work
nicely, chopped nuts perhaps… walnuts and hazelnuts are great in chocolate. Or
you could do a combo with berries and nuts. As I said be creative and experiment
with different spices, nuts and berries, even adding some chili powder to spice
you chocolate up is surprisingly good! Find out what trips you trigger :) Step 5: When you are finished decorating your chocolates pop them in the fridge and wait about half an hour to an hour, depending on their size. I use silicone forms because the chocolate doesn’t stick and they are easy to clean.
Congratulations on making your own delicious chocolate! Now you’ll never have to buy the sugar loaded stuff again ;)
Step 6 ;) Enjoy your well deserved treat with good conscience!

Kakaosmør = Cacao butter


Ingen kommentarer:
Legg inn en kommentar